Hello everyone, I’m a florist at OUKA FLOWER, a Japanese brand specializing in dried flower products and space decoration design. In this blog, I share techniques that you can try at home, based on the knowledge and experience I’ve gained through processing fresh flowers into dried flowers daily.
These tips are designed to help you enjoy dried flowers even more, so I hope you’ll read through to the end. In this post, I’d like to introduce hydrangeas, one of the most popular flowers in Japan for drying.
Table of Contents
What Kind of Flower Is a Hydrangea? — Basic Facts About Hydrangeas
Let’s start with a quick introduction to the hydrangea itself.
Hydrangeas Are Deciduous Shrubs Native to Japan That Bloom in Early Summer
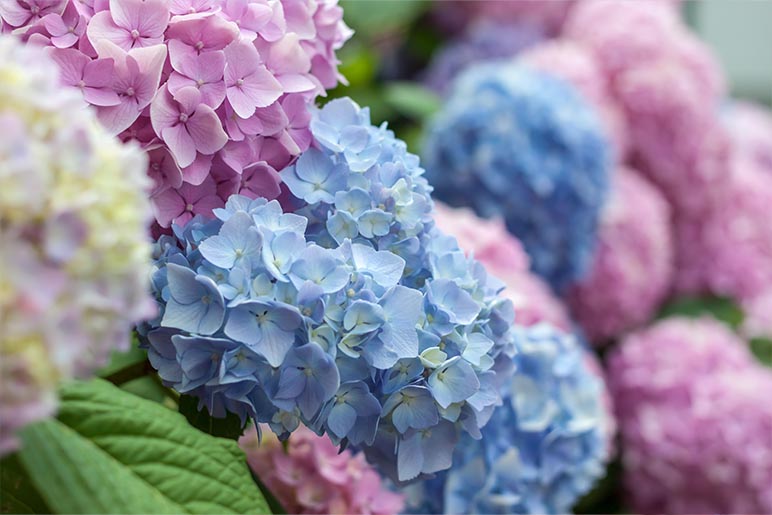
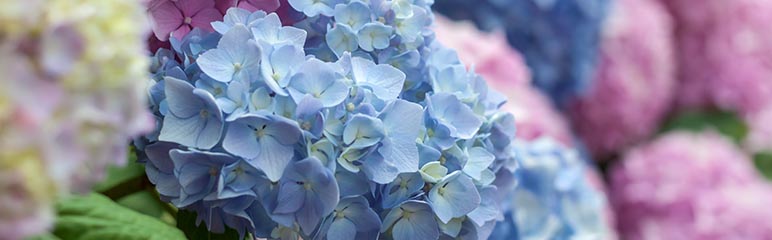
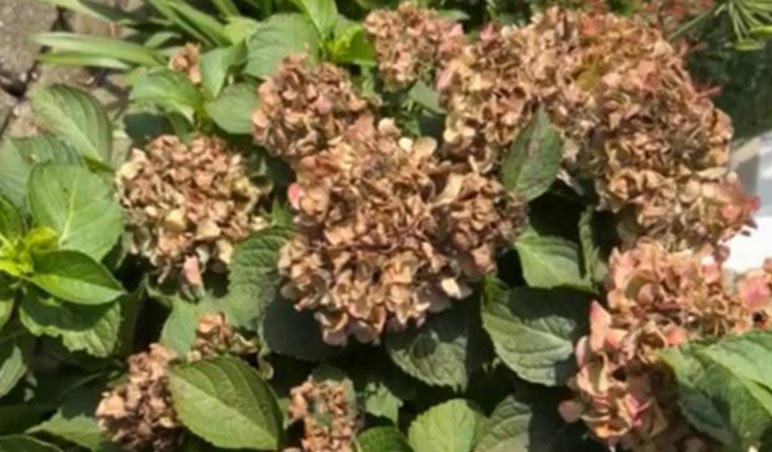
Hydrangeas are deciduous shrubs native to Japan, typically reaching full bloom between June and July. Their flowers come in various shades—blue, pink, white, and more—depending on the individual plant. Interestingly, their color is influenced by the pH level of the soil: acidic soil produces blue flowers, while alkaline soil results in red ones. This means hydrangeas can display different hues depending on where and when they bloom, making them especially fascinating.
Popular Types of Hydrangeas
There are many varieties of hydrangeas—around 100 recognized species within the Hydrangea genus. In Japan, several native species have been cultivated into over 1,000 horticultural varieties, a testament to their widespread popularity.
Here are a few notable types:
- Lacecap Hydrangea (Hydrangea macrophylla f. normalis): A classic variety with small fertile flowers clustered at the center, surrounded by larger decorative sepals, giving the bloom a “framed” appearance.
- Bigleaf Hydrangea (Hydrangea macrophylla): A horticultural variety bred from the Lacecap hydrangea, known for its full, globe-shaped blooms commonly seen in gardens and parks.
- Mountain Hydrangea (Hydrangea serrata): A delicate species that grows naturally in mountainous regions. It closely resembles the Lacecap hydrangea, with smaller flowers and leaves.
- Panicle Hydrangea (Hydrangea paniculata): Recognized for its cone-shaped white blooms that appear in summer. It’s hardy and popular as a garden shrub due to its strong tolerance for pruning.
- Climbing Hydrangea (Hydrangea petiolaris): A unique vine-like species that climbs trees or rocks using clinging rootlets.
Among these, the Lacecap hydrangea is considered the original species native to Japan. The Mountain hydrangea is a cultivated variety derived from the Lacecap, and due to their similar flat flower heads, they can be difficult to distinguish. Their “framed” flower arrangement is what gives the Lacecap its name.
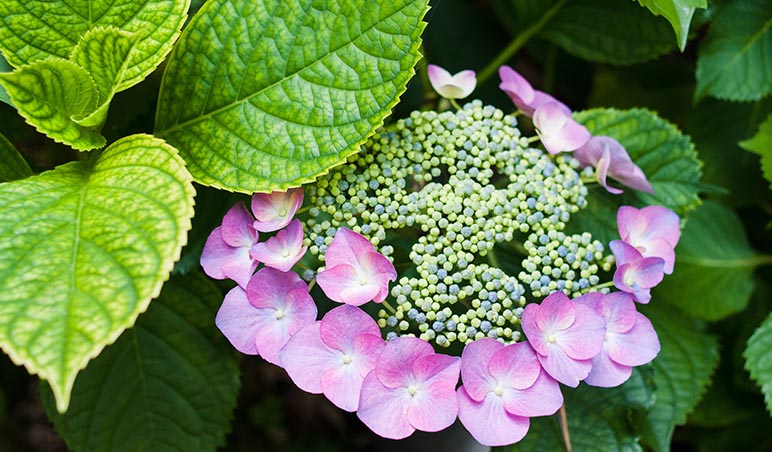
Hydrangeas displaying the characteristic bloom style of Lacecap and Mountain Hydrangeas
Tips for Drying Hydrangeas Successfully
Here are some key tips for turning hydrangeas into beautiful dried flowers. The most important step is to ensure the fresh flowers are well-hydrated and in their healthiest state before beginning the drying process. This helps the blooms retain their shape and color better during drying. To fully hydrate your hydrangeas, follow these two essential steps:
- STEP 1: Remove the inner pith
- STEP 2: Submerge the entire flower in water
Let’s go through each step in detail to help you create high-quality dried hydrangeas.
STEP 1: Remove the Inner Pith
Inside a hydrangea stem, there’s a soft, sponge-like tissue often referred to as “pith.” This tissue, called the medulla, runs through the center of the stem and serves as a channel for water and nutrients while the flower is growing. However, when placing hydrangeas in water for floral arrangements or prepping them for drying, this pith can block water absorption if it becomes waterlogged. That’s why removing it is an important first step in preparing the flower for drying.
How to: Make a Cross-Shaped Cut with Scissors
Using scissors, make a cross-shaped incision about 2 inches (5 cm) from the base of the stem. This helps expose and loosen the pith, making it easier for the flower to take in water.
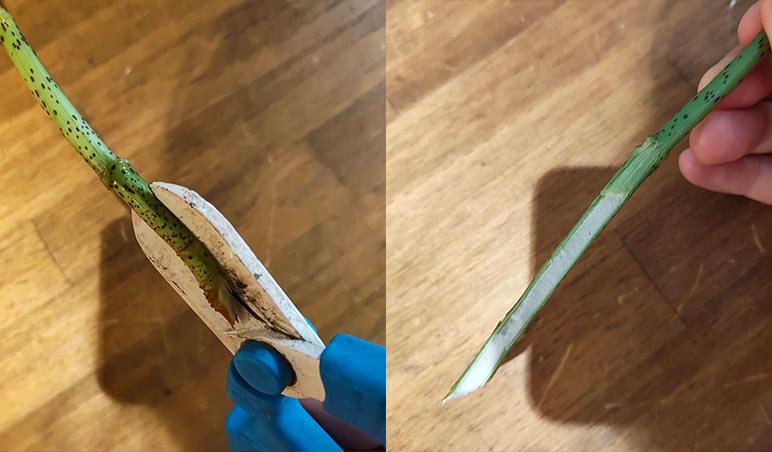
How to: Scoop Out the Pith Using a Knife
Since the pith is soft, it will crumble easily as you remove it. Be sure to clear out all of the fragments thoroughly so that nothing is left inside the stem. Because this is a delicate process, use a clean, sharp knife to avoid damaging the stem.
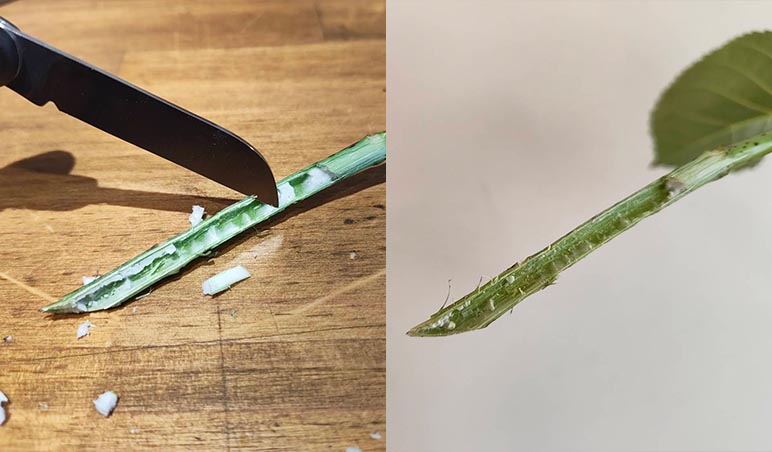
In this tutorial, I’m using a straight-blade florist knife, which is ideal for precision work like this. It’s a handy tool to keep around—not just for this step, but for many other floral tasks as well. I highly recommend having one in your kit!
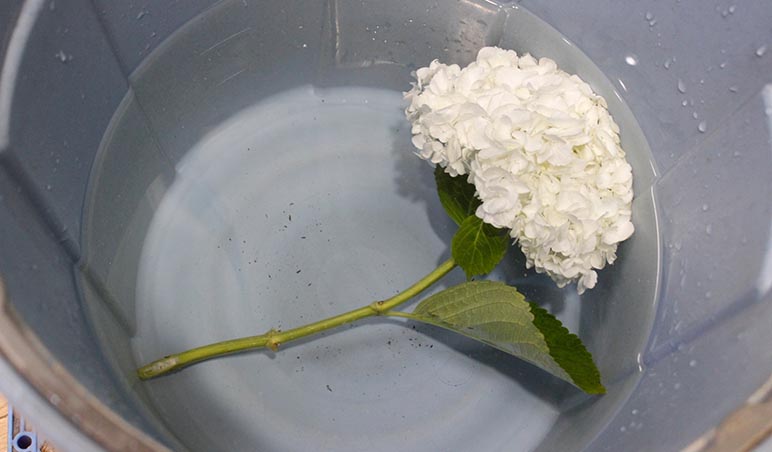
STEP 2: Submerge the Entire Flower in Water
Prepare a deep bucket or container and gently submerge the entire hydrangea so that all of the blooms and leaves are fully underwater. The soaking time may vary depending on the condition of the flower, but as a general guide, let it sit for about 3 to 4 hours. After soaking, check that the flowers and leaves have perked up and regained their shape.
The reason for submerging the entire hydrangea is to help the sepals (the petal-like parts of the flower) absorb as much water as possible and restore the overall freshness of the bloom. What appear to be petals on a hydrangea are actually sepals, which support and protect the small true flowers at the center. These sepals are relatively sturdy and don’t easily get damaged by water, making it safe to soak the whole flower. Doing so allows it to absorb more moisture and regain a crisp, vibrant appearance.
How to Dry Hydrangeas
In Japan, hydrangeas are a very popular choice for dried flowers. However, they tend to lose their color easily once dried.
That said, many people actually enjoy the soft, muted tones that come with fading, and appreciate the unique charm it adds to interior decor. Watching hydrangeas slowly shift into vintage hues can be part of the beauty of working with them as dried flowers.
In this post, we’ll explore two different drying methods:
- Warm Air Drying: Using warm air to intentionally create faded, antique-looking hydrangeas
- Natural Drying: Allowing hydrangeas to naturally lose moisture and color over time
Let’s try both techniques and compare the results between intentionally faded and naturally faded dried hydrangeas.
Warm Air Drying Method
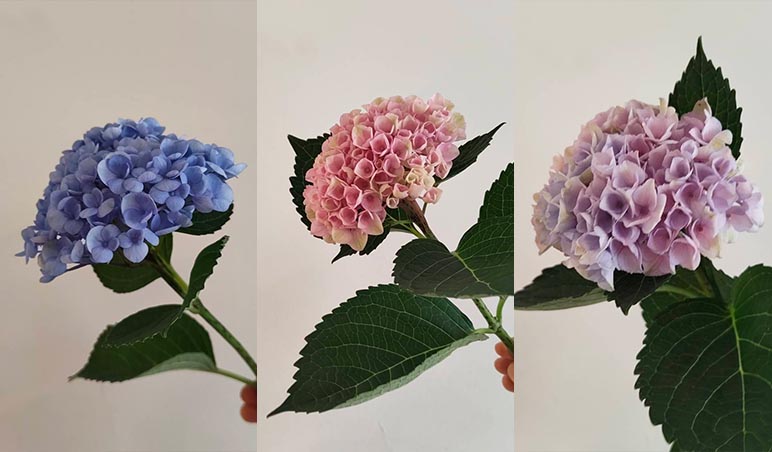
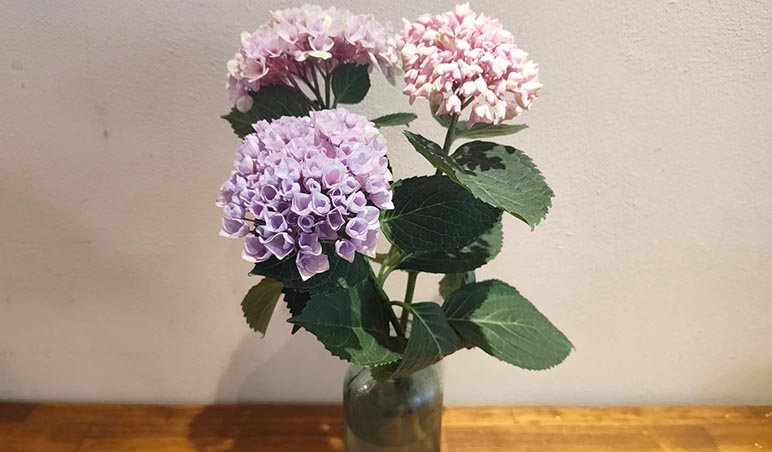
Here are the fresh hydrangeas prepared for the warm air drying method. These are commonly available varieties used in floristry. For this test, I’ve selected three color variations: blue, pink, and light purple.
STEP 1: Place in the Dryer
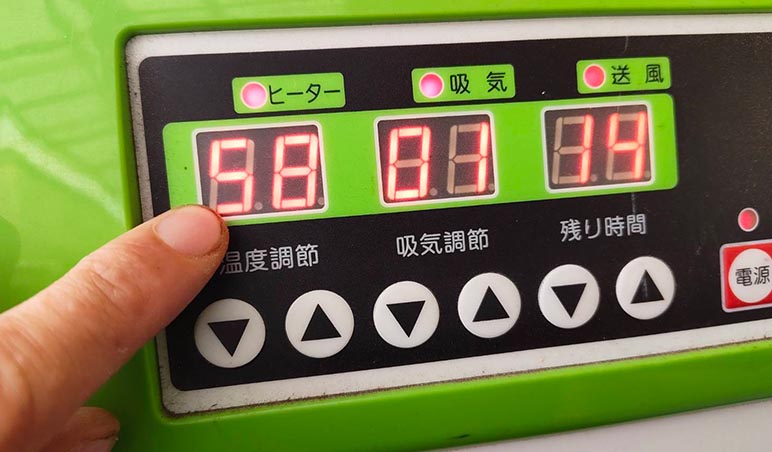
Place the hydrangeas in a warm air dryer and dry them at 58°C (136°F) for about 10 hours.
While most flowers are typically dried at around 53–54°C (127–129°F), we’re using a slightly higher temperature this time to intentionally test how the colors fade under heat.
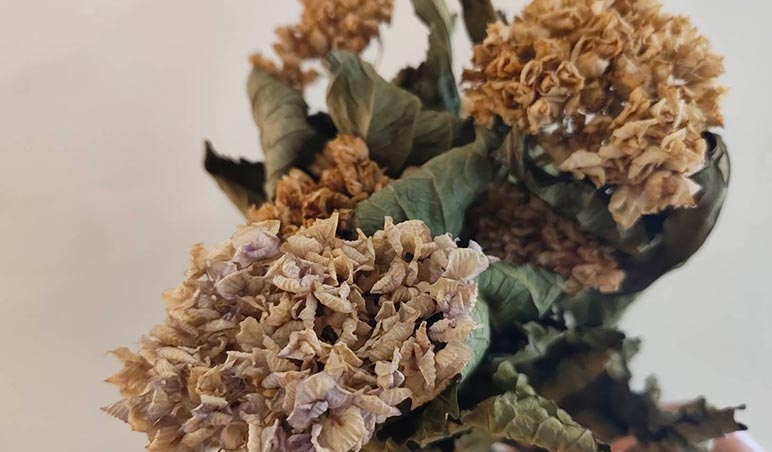
STEP 2: Drying Complete
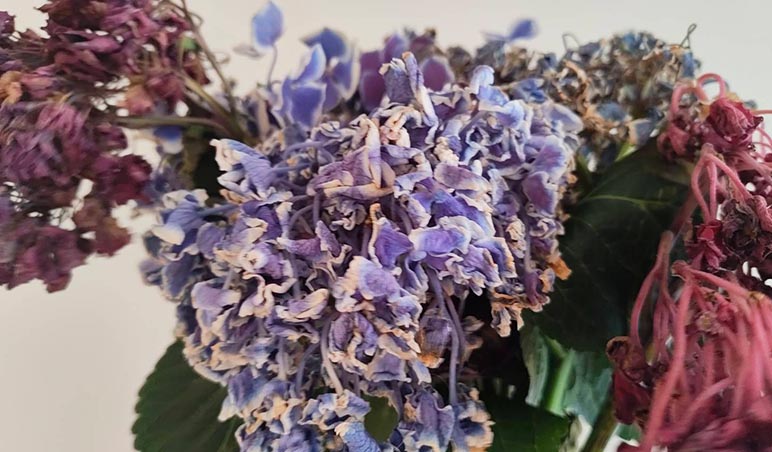
Here are the hydrangeas after drying.
As you can see in the first image, only the blue hydrangea has retained a slight hint of color. The other two—pink and light purple—have faded significantly and ended up with very similar muted tones.
Natural Drying Method
Using the same varieties of hydrangeas as in the warm air drying method, we first remove the pith and submerge the flowers in water to hydrate them thoroughly. Then, the fresh and perky hydrangeas are placed upright in a vase filled with water and left to dry naturally over time.
STEP 1: Arrange in a Vase
Place the hydrangeas in a vase filled with plenty of water and leave them as is for several days. Avoid placing them in hot, humid areas. Instead, keep them in a bright, shaded spot near a window. High heat and humidity can cause the flowers to rot or become damaged before drying properly, so careful placement is essential.
STEP 2: Drying Complete
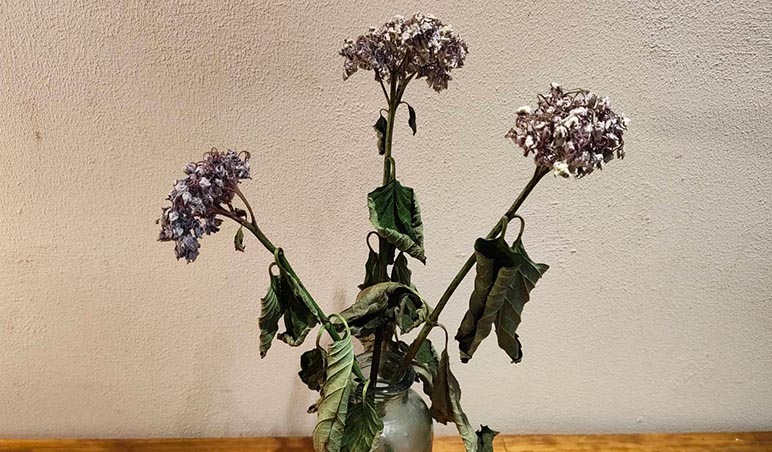
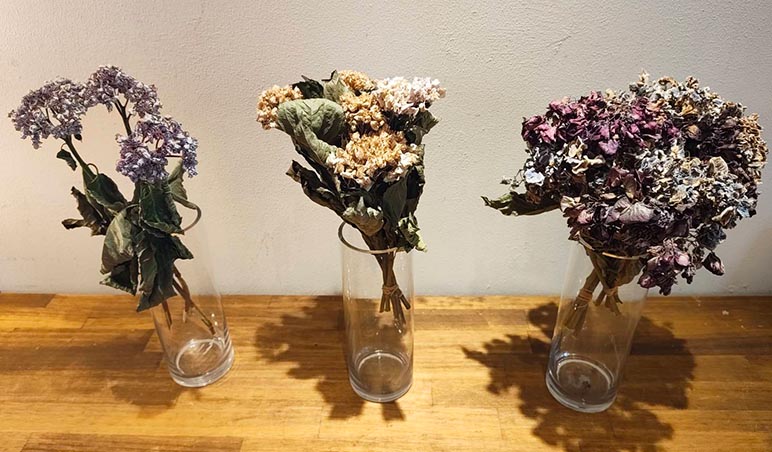
After about five days, once the water has completely evaporated, check the flowers. All three colors still retain some color, but have faded to a pale, whitish tone with mottled patterns.
STEP 3: Comparison
Next, let’s compare these with hydrangeas that were drying without water—flowers that had drooped due to insufficient hydration and were left to dry without water.

After drying, these flowers show some overall flattening, but their red and blue colors are better preserved compared to those that were kept hydrated. This reveals noticeable individual differences in how each flower responds to drying.
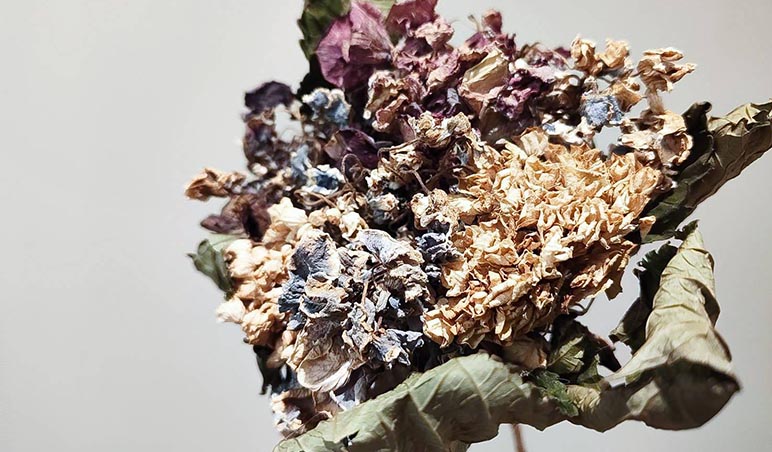
Comparing the Three Dried Hydrangeas
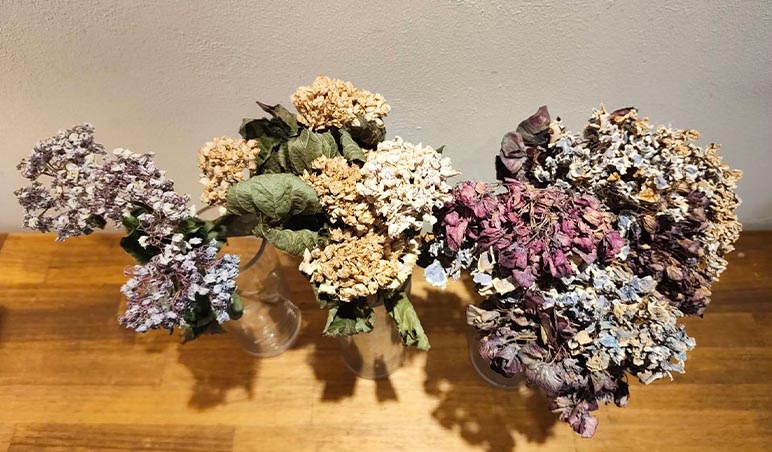
From left to right:
- Natural drying with water
- Warm air drying
- Natural drying without water
A key point is that natural drying with water allows the flowers and leaves to dry in an upright position. Due to gravity, the blooms and leaves gradually droop downward, drying in a very natural state.
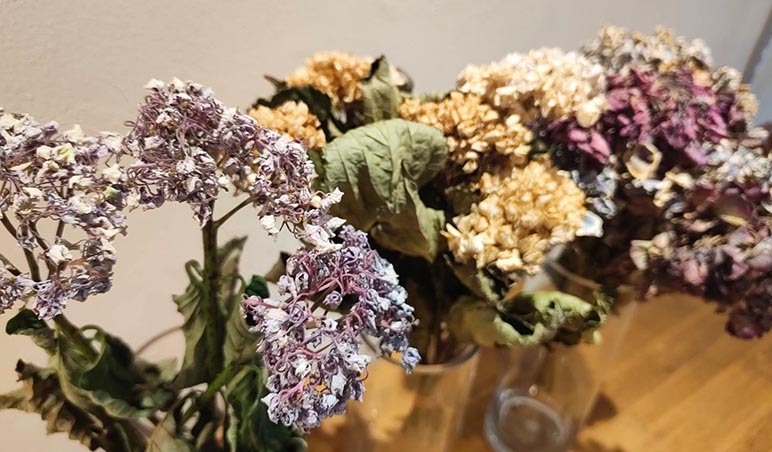
With natural drying, the color fades slowly over time, and you can observe how the flowers gradually become dried without forcing nature’s process.
“Tachigare”: A Unique Japanese Concept of Natural Drying
In Japan, there is a term called “tachigare”, which refers to plants that naturally wither while standing upright, becoming naturally dried flowers in situ. Plants that grow and dry under suitable natural conditions show various signs of their life, such as bent stems, insect holes, and missing petals. These marks tell the story of the plant’s journey and individuality.
Observing each plant’s unique traits and imagining the story behind its upright withering form allows us to appreciate the original strength and fragility of the plant. This appreciation is also a key part of the charm and philosophy behind dried flowers in Japan.
How to Preserve and Display
Dried Hydrangeas From here, I will share tips to help your dried hydrangeas last longer, along with some ideas on how to display them. I hope you find a favorite way to enjoy these beautiful blooms.
Important Points for Preservation
While dried hydrangeas generally keep their shape well, there are some important points to maintain their beauty.
Here are four key precautions:
- Avoid humidity
- Avoid direct sunlight
- Store in a well-ventilated place
- Take measures against dust
By following these guidelines, you can enjoy your dried flowers for a longer time.
1. Avoid Humidity
Dried flowers are vulnerable to moisture. Exposure to humidity can damage petals and leaves, speeding up deterioration. It can also cause mold and deformation. Avoid displaying dried hydrangeas in consistently damp areas like bathrooms, kitchens, or during rainy seasons.
2. Avoid Direct Sunlight
Direct sunlight can cause petal discoloration and fading. Instead of placing dried hydrangeas by a bright window, display them in softly lit areas with filtered light through curtains or in bright, shaded rooms to extend their lifespan.
3. Store in a Well-Ventilated Place
Choose a location with good airflow. Avoid storing dried flowers in closed spaces like closets or airtight cases, as trapped moisture can encourage mold growth and decay.
4. Take Measures Against Dust
Dust buildup can lead to dirt accumulation and even attract insects, compromising the flower’s condition. Regularly dust your dried flowers with a soft brush or use an air duster. Check frequently to keep them clean and fresh.
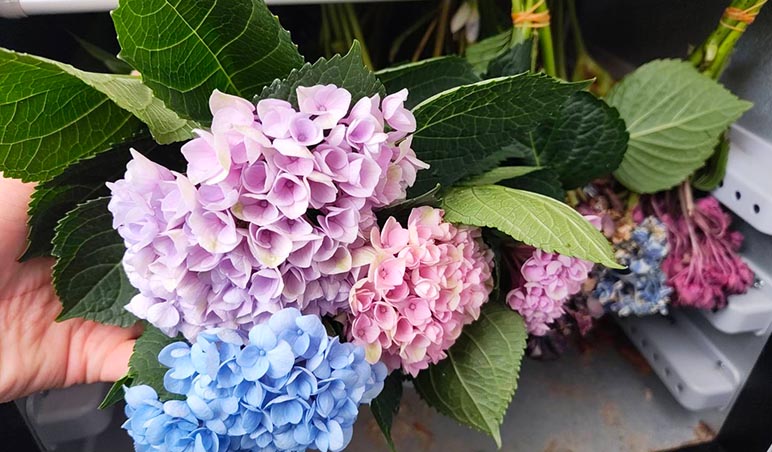
Display Idea for Dried Hydrangeas #1
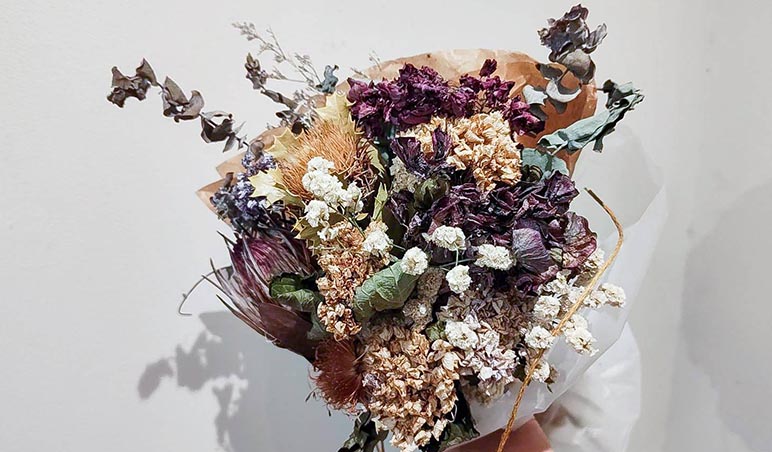
Hydrangeas have a distinctive and unique shape, so their compatibility with other dried flowers can vary. Here, I’ll introduce some flowers that pair well with hydrangeas and suggest making a classic swag arrangement as a way to display them.
Flowers that pair well with hydrangeas
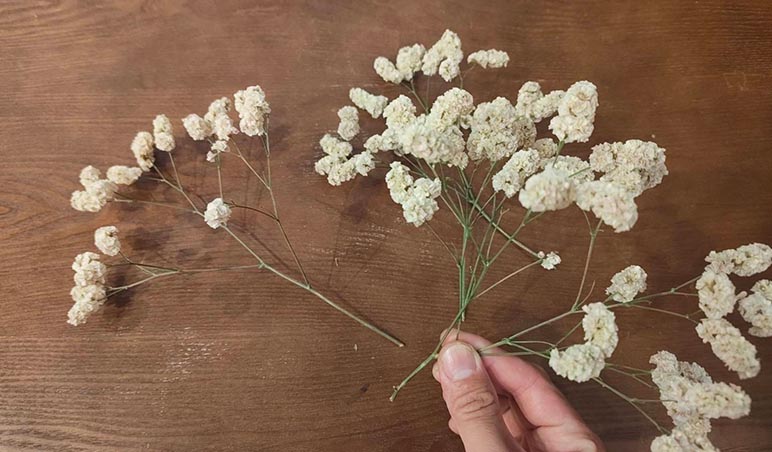
Statice
Statice flowers, known for their small, delicate blooms, complement the round shapes of hydrangeas beautifully. Adding statice throughout your arrangement adds color and texture, broadening the range of creative possibilities.
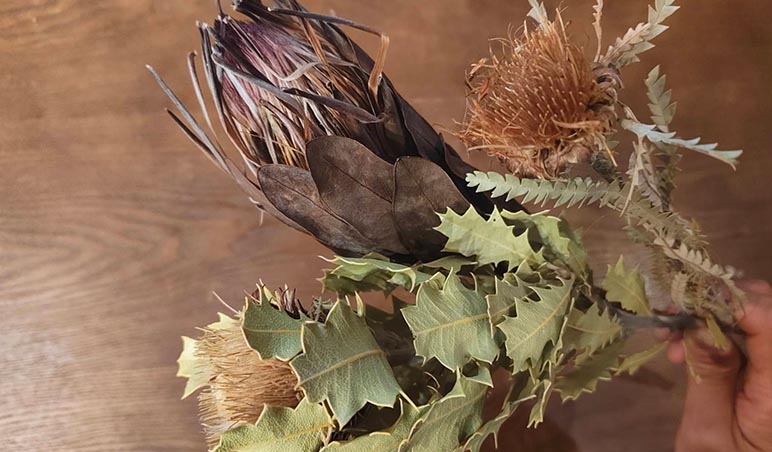
Native flowers
Native flowers, often having unusual and striking shapes, pair very well with the rounded form of hydrangeas. However, since many native flowers have sharp or stiff leaves, be careful not to place them too close to the delicate hydrangeas, as this can cause damage or breakage. When arranging, try to create some height variation and spacing to protect the fragile blooms.
Key Points and Precautions
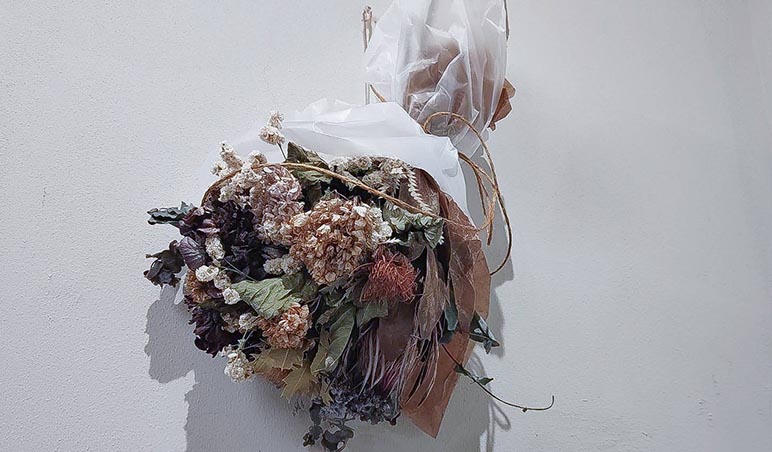
When Making a Swag There are two important points to keep in mind when assembling a swag:
- Fill gaps with statice to prevent the arrangement from collapsing
- Hang the swag upside down for display
Let’s explain these two points in detail.
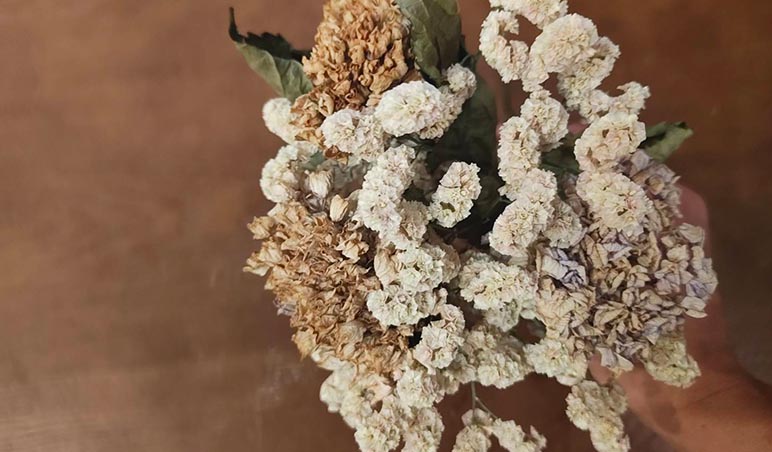
1. Fill Gaps with Statice to Prevent Collapse
When hydrangea blooms overlap too much, the arrangement can become unbalanced and unstable. To avoid this, insert statice flowers into the gaps between hydrangeas. This helps separate the blooms and maintains the overall balance of the swag.
Additionally, arrange statice and native flowers around the hydrangeas in moderation, creating varying heights to prevent them from touching or overlapping each other.
2. Hang the Swag Upside Down
Hanging the swag upside down allows it to follow the direction of gravity, which helps prevent the flowers from bumping into each other and getting damaged. When hanging it upside down, it’s a good idea to include some foliage, such as eucalyptus, at the back of the bouquet. This acts as a cushion, protecting the flowers from hitting the wall.
Display Idea for Dried Hydrangeas #2
The second idea for displaying hydrangeas uses OUKA FLOWER’s original product called “Ichirin”, which is arranged here with cherry blossoms. For this creation, I combined three types of hydrangeas processed by both the warm air drying method and the natural drying method to make a single hydrangea arrangement. Each hydrangea reflects differences in growing conditions, colors, and individual characteristics. These differences are woven together harmoniously, complementing one another in the final arrangement.
What is Ichirin?
Ichirin is a handmade flower series with the concept of “Everyone comes together as one flower.” In addition to commercially available flowers, this series actively uses pruning waste—often called garden scraps—as dried flower materials. By combining flowers from various species and environments, Ichirin reconstructs them into a new single bloom, creating unique handcrafted floral art.


Summary: Dried Hydrangeas
In this article, we covered the entire process of drying hydrangeas—from hydrating the fresh flowers to actual drying methods and comparing the results. Because there are countless hydrangea varieties, including many cultivated types with unique characteristics, the results can vary widely depending on the species and drying techniques used.
However, no matter how they are processed, the timeless charm of hydrangeas remains—their ability to retain their form even as they fade and dry. This enduring beauty is what makes dried hydrangeas so special.
I hope this article inspires you to try making your own dried hydrangeas.
Wishing you a wonderful dried flower experience.
Thank you for reading.
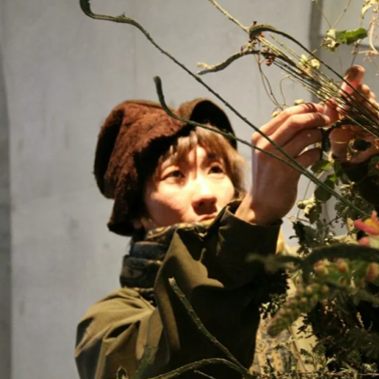
A creator of Ouka, a dried flower brand born from the belief that every plant holds hidden beauty—just like the first person in human history ever to offer a flower. My mission is to rediscover and redefine that value, continuously shaping a world where dried flowers, people, and objects coexist in harmony.